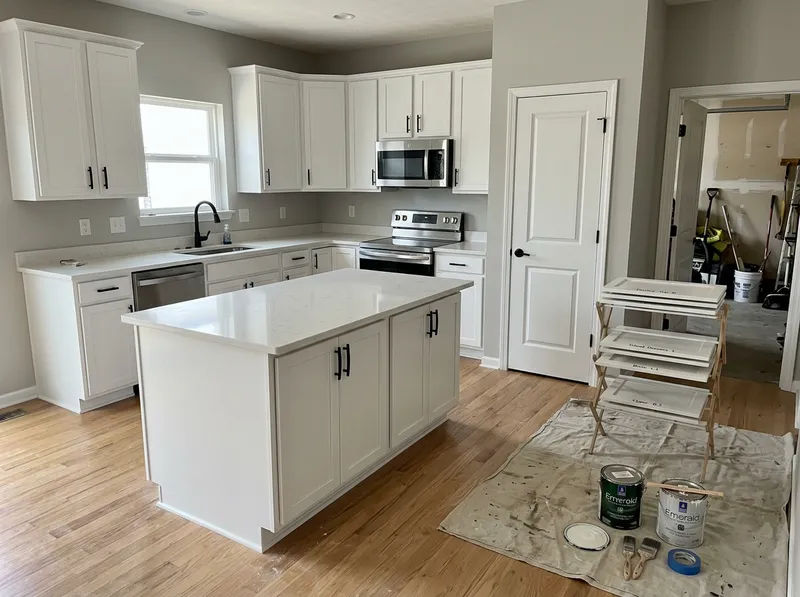
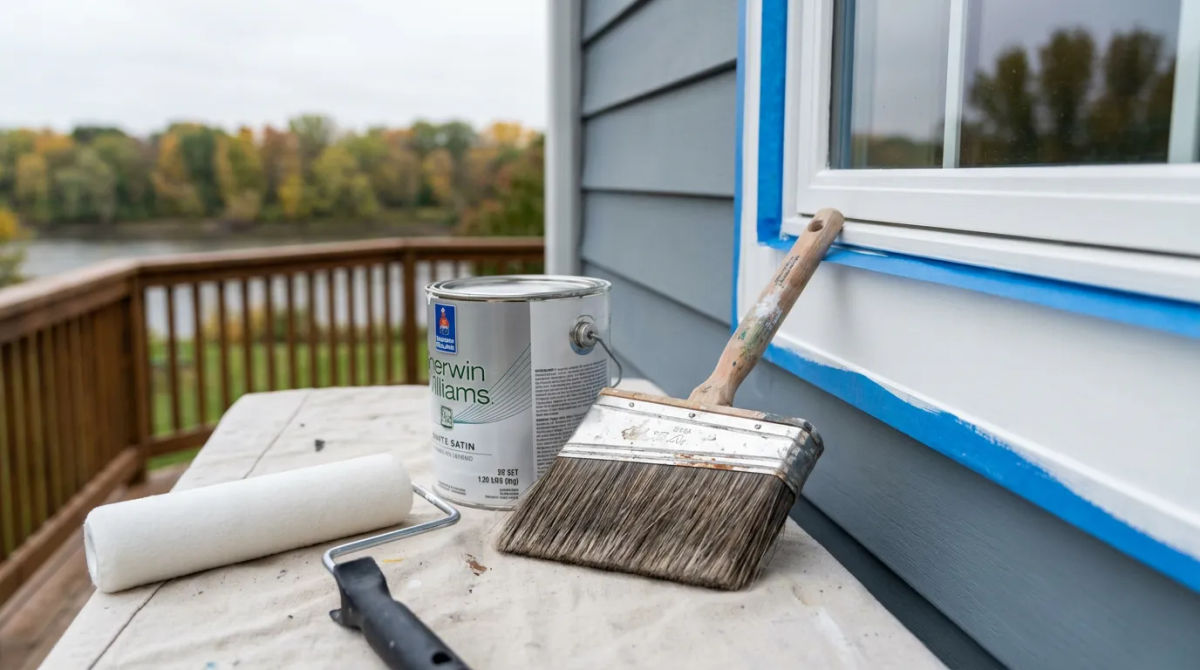
In Champlin, extreme seasonal weather can quickly wear down your property's exterior and dull interior spaces. A professional paint application not only revitalizes the look of your building but also provides a crucial layer of protection against the harsh Minnesota elements. Our standardized painting solutions ensure your property remains pristine and well-protected year-round.
Learn more
Our Projects
Recent Activity in Champlin
Featured
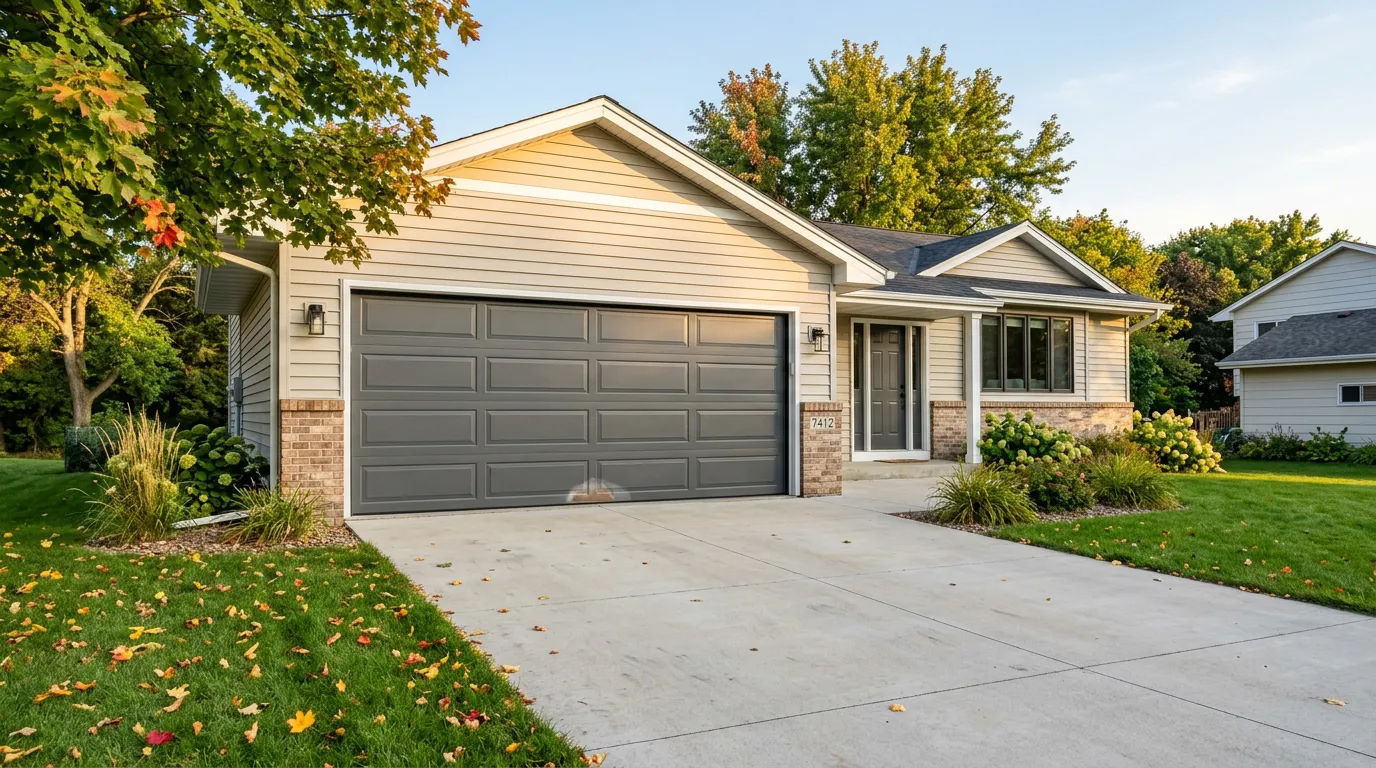
Case Study: Garage Door Repaint to Stop Rust Before MN Winter
Champlin’s winter road salt, wind-driven moisture, and freeze-thaw cycles can accelerate oxidation on steel garage doors; early fall is a practical window for proper prep and cure time. · Sep 16, 2026
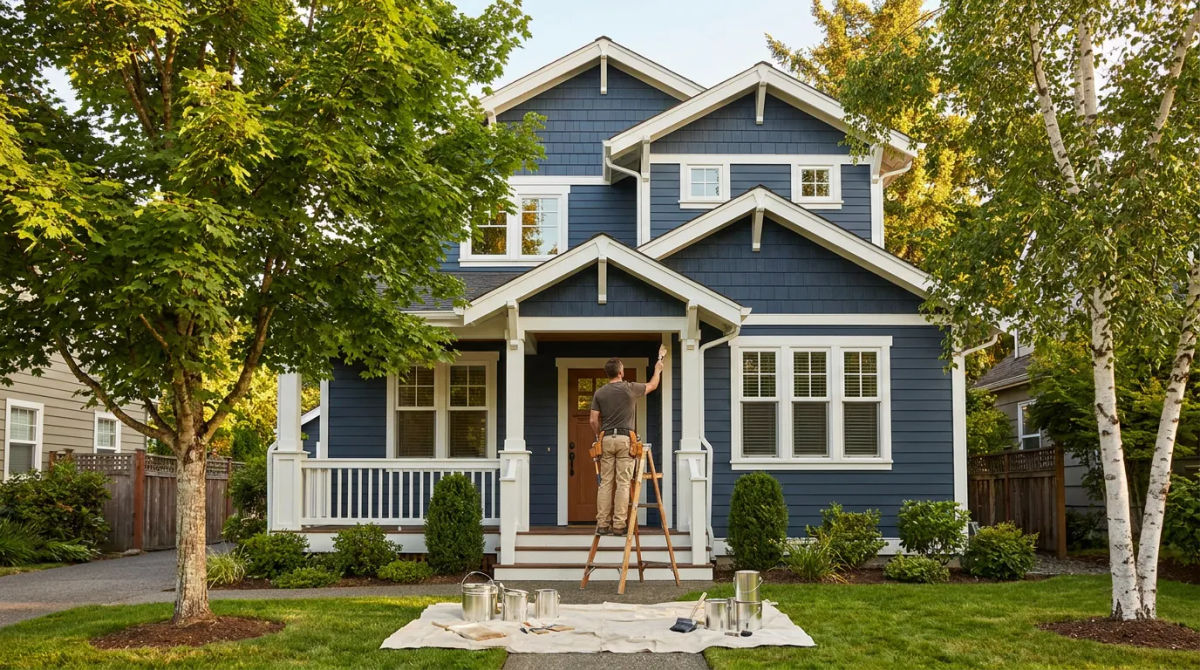
Exterior House Painting Cost in Champlin MN: Prep Before Freeze
In Champlin, MN, September is one of the last reliable windows for exterior painting before overnight freezes and shorter daylight slow cure times and reduce adhesion. · Sep 16, 2026
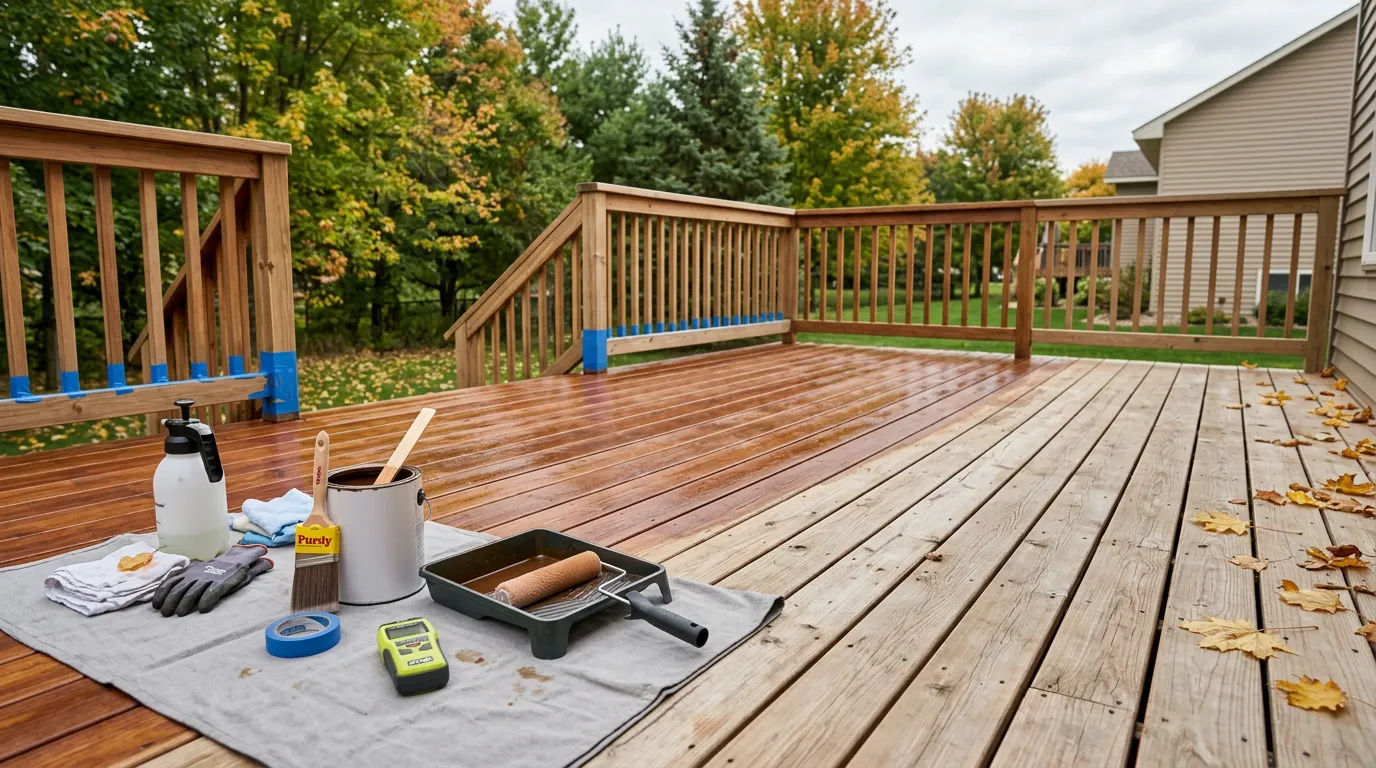
Deck Staining Cost in Champlin MN: Seal Your Deck This Fall Guide
Champlin’s cold winters and freeze-thaw cycles make fall deck sealing important; September weather is ideal for drying after washing and for stain penetration before snow cover. · Sep 16, 2026
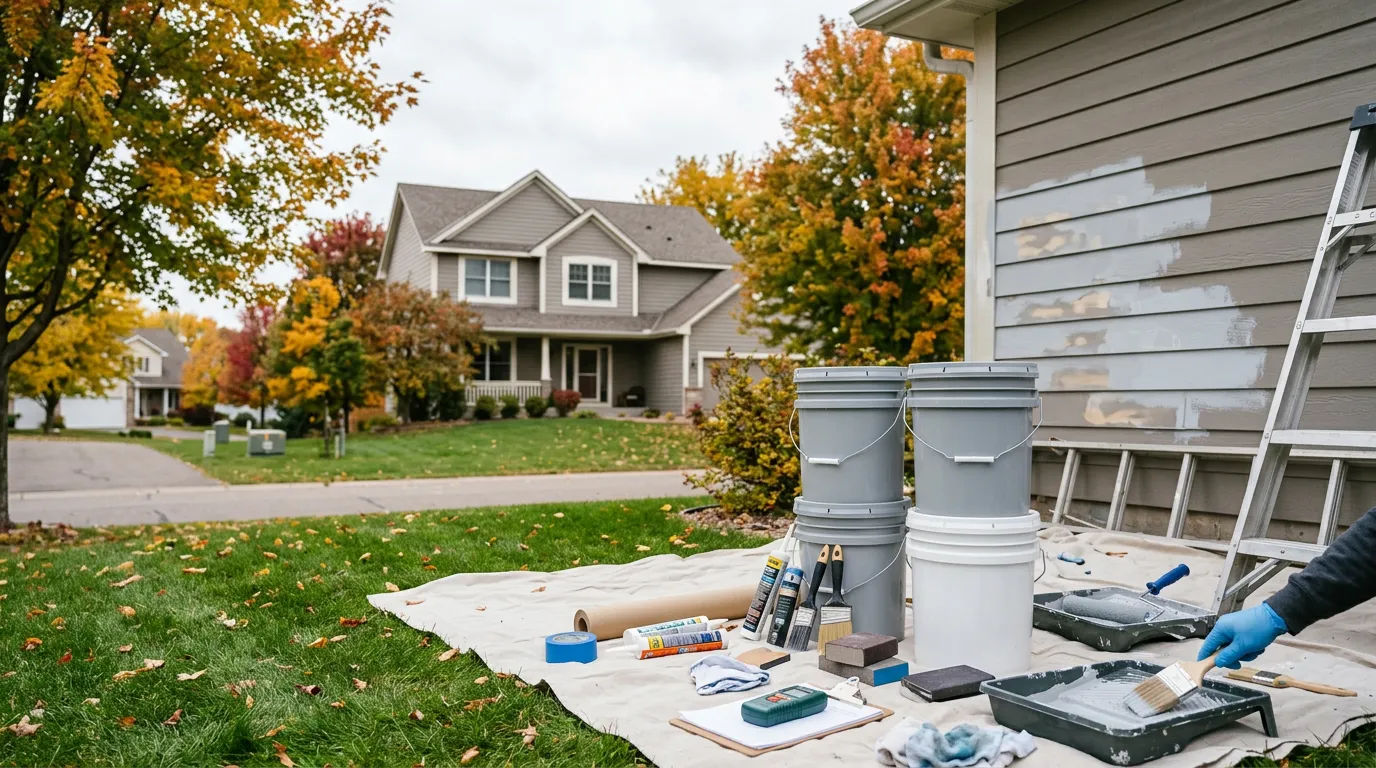
Case Study: Restoring Fascia Paint After Fall Gutter Overflows
In Champlin, MN, fall leaf buildup can cause gutters to overflow, soaking fascia boards; repeated wetting plus early cold snaps accelerate paint failure and wood deterioration. · Sep 16, 2026
26+
Years Experience
Our Commitment
Why Choose Us
Brownbalys Properties LLC delivers comprehensive painting services throughout Champlin, from residential interiors and exteriors to commercial projects. Our trained crews bring 26 years of experience, organized processes, and consistent quality to every job we complete.
Fast Response
Our scheduling team responds promptly to inquiries and coordinates efficient project timelines that respect your schedule.
Clear Pricing
We provide detailed written estimates with transparent breakdowns so you know exactly what to expect before work begins.
Proven Quality
With 26 years of painting experience, our crews deliver durable finishes backed by workmanship warranties.
Real Projects, Real Results
Our Work
See recent painting projects completed by Brownbalys Properties LLC across the Champlin area. From prep to clean lines and durable finishes, our work is built to look great and hold up in Minnesota weather.
Spring Lake Park
Elk River
Scandia
Dayton
Ready to Get Started?
Get a free, no-obligation estimate from our trusted team.
Reviews
Trusted by Neighbors
“In Robbinsdale they got back to us within an hour and had a crew on site the next morning. The exterior touch-ups were completed efficiently without disrupting our tenants.”
“For our New Hope office refresh, the finish lines were clean and consistent, and the team kept the workspace protected and tidy each day. Communication was straightforward and they stayed on schedule.”
“In Scandia the estimate was clear and itemized, and there was no pressure to add extra work. They actually suggested a lower-cost paint option that still met our durability requirements.”
Serving Champlin Neighborhoods:
We serve Champlin and the entire area with the same premium quality.
Resources
Insights & Tips
Case Study: Garage Door Repaint to Stop Rust Before MN Winter
It was a crisp September afternoon in Champlin when the call came in. As the Property Maintenance & Renovation Lead for **Brownbalys Properties LLC**, I get a lot of calls this time of year. Homeowners are doing their final walkthroughs before winter, and they start noticing things they might have overlooked during the summer rush. This call was from a homeowner in a beautiful neighborhood known for its spacious, custom-built homes from the 1990s and 2000s. Theirs was a classic example: a stately two-story with intricate rooflines and a prominent, three-car garage that faced the street.
The problem? Rust. Small, orange-brown blisters were popping up along the bottom panels of their steel garage doors. They had tried to touch it up last year, but the spots came back angrier than before. With Minnesota's harsh winter just around the corner, their concern was palpable. They weren’t just worried about curb appeal; they were worried that these small spots would turn into a full-blown replacement project by spring. They needed a real solution, and they needed it before the weather turned. They knew they needed an expert, which is why they reached out to us at **Brownbalys Properties LLC**.
## The Assessment
When I arrived at the Champlin home, I could see the issue from the curb. The house was immaculate, but the garage doors, which made up a significant portion of the home's facade, looked tired and neglected. The original factory finish was faded and chalky from years of sun exposure, and the rust spots were a clear sign of underlying failure.
Up close, my inspection confirmed the homeowner's fears. The rust wasn't just superficial. In several areas, the paint had bubbled up, and when I gently probed a spot, flakes of paint and rust came away, revealing pitted bare metal underneath. This was happening primarily on the lower sections, a tell-tale sign of damage from winter conditions. In Champlin, our winters mean road salt, slush, and wind-driven moisture. That corrosive mixture sits on the bottom of garage doors, slowly eating away at the protective coating.
This is a classic problem for homes of this era. The steel doors are durable, but their factory coatings have a finite lifespan. Once that coating is breached, even by a small stone chip or scratch, moisture gets in and the oxidation process begins. A simple paint-over job traps that moisture and rust underneath, which is why the homeowner's DIY touch-up failed so quickly. To do this right, we needed more than just paint; we needed a complete **rusty garage door paint system** designed for metal.
I explained to the homeowner that we could absolutely save their doors. By addressing the rust properly and using the right materials, we could provide a finish that not only looked brand new but would also stand up to the punishing freeze-thaw cycles for years to come. They were relieved to hear that a full replacement wasn't their only option. They put their trust in **Brownbalys Properties LLC** to protect their investment.
## Our Solution
Our approach to **garage door painting** is methodical and built on preparation. You can't achieve a lasting finish by cutting corners. My team and I developed a comprehensive plan to restore and protect these doors.
**Phase 1: Aggressive Surface Preparation**
This is the most critical step. We began by thoroughly pressure washing the doors with a specialized degreasing cleaner. This removed years of dirt, chalky paint residue, and road grime, giving us a clean slate. Then, the real work started. My two-person crew used angle grinders with wire wheel attachments and hand-held wire brushes to mechanically remove every trace of rust and loose paint, taking those areas down to clean, bright metal. We then feathered the hard paint edges with orbital sanders to ensure the final finish would be perfectly smooth, with no visible transition lines.
**Phase 2: The Multi-Layer Coating System**
With the doors prepped, we masked the entire work area - siding, trim, windows, and the driveway - to protect the property from overspray. Then we began applying our specialized coating system.
- **Primer:** The first coat is the most important for longevity. We didn't use a standard primer. We applied a high-performance, rust-inhibitive DTM (Direct-to-Metal) bonding primer. This industrial-grade product is designed to chemically bond with the bare steel, sealing it off from oxygen and moisture and preventing any future rust from forming. It creates an inseparable foundation for the topcoat.
- **Finish Coat:** For the topcoat, we chose a premium urethane-modified acrylic enamel in a deep, rich charcoal gray that the homeowner selected. This type of paint is ideal for a **Champlin MN steel garage door repaint** because it remains flexible. It can expand and contract with the metal as temperatures fluctuate from a sunny afternoon to a frigid night, which prevents cracking and peeling. It’s also highly resistant to UV fading and tough enough to resist chipping and abrasions.
We applied both the primer and the two finish coats using an HVLP (High Volume, Low Pressure) sprayer. This technique atomizes the paint into a fine mist, allowing us to lay down a perfectly even, glass-smooth finish that mimics the look of a brand-new, factory-painted door.
**Phase 3: Curing and Timing**
One of the biggest challenges was the calendar. The **garage door paint cure time in cool weather** is a major factor in the fall. Paint needs specific temperature and humidity levels to cure, or harden, correctly. We carefully monitored the forecast and scheduled this project over three consecutive mild, dry September days. This gave each coat ample time to dry and begin its curing process before the evening dew and lower nighttime temperatures set in. This careful planning is a hallmark of the **Brownbalys Properties LLC** process and ensures the durability we promise.
## The Results
The transformation was stunning. Before, the garage doors were an eyesore that aged the entire home. The color was faded, and the rust spots looked like blemishes on an otherwise beautiful facade. After our work was complete, the doors looked absolutely brand new. The deep charcoal color was rich and uniform, with a subtle satin sheen that perfectly complemented the home's brick and siding accents. The smooth, flawless finish completely revitalized the home's curb appeal.
The homeowner was ecstatic. They told me, “I can’t believe these are the same doors! It looks like you installed brand new ones. The whole front of our house looks updated and clean.” More importantly, they now have peace of mind. Instead of worrying about winter, they know their doors are sealed and protected by a professional system designed to withstand the elements. They saved thousands of dollars compared to the cost of new high-end doors and added significant value and curb appeal to their home.
This project is a perfect example of what we do at **Brownbalys Properties LLC**. We don't just paint; we provide lasting solutions. By combining meticulous prep work, superior materials, and a deep understanding of how our local climate impacts a home, we deliver results that look great and protect our clients' most valuable asset.
Does this story sound familiar? Are you looking at your own garage doors and seeing the first signs of rust or fading? Don't wait for a small problem to become a major expense. Taking action in the fall can save you from a much bigger headache in the spring.
Ready for your own **Brownbalys Properties LLC** experience? Contact us today for a free inspection.
Read More
Exterior House Painting Cost in Champlin MN: Prep Before Freeze
As a property maintenance lead here in the Champlin area, I’ve learned one thing is certain: when homeowners start thinking about a big project, the first question is always, “What’s this going to cost me?” It’s the most practical and important question you can ask. When it comes to exterior painting, the answer isn’t a simple number. My goal with this guide is to pull back the curtain on pricing and give you a transparent, honest look at what goes into the cost of painting your home, especially as we head into the fall season.
I’ve spent the last 12 years helping homeowners protect their biggest investment, and a quality paint job is one of the most effective ways to do that. So let’s break down the numbers, what drives them, and how you can make a smart investment for your home.
## Average Costs in Champlin
Let's get right to it. Providing a flat rate is impossible, but I can give you realistic ballpark figures for what my team and I typically see for professional painting in the Champlin area. Remember, these are averages - your home's specific needs will determine the final price.
- **Smaller single-story home (approx. 1,500 sq ft):** You can generally expect to budget between **$4,000 and $7,500**. This range often covers homes with straightforward layouts and siding in decent condition.
- **Average two-story home (approx. 2,500 sq ft):** The cost typically falls between **$7,000 and $10,500**. The jump in price accounts for the extra labor, equipment (like lifts or taller ladders), and safety precautions needed for a second story.
- **Larger or more complex homes (3,000+ sq ft):** For these properties, costs can start at **$10,000 and go up significantly**, depending on architectural details, multiple siding materials, and extensive prep work.
A detailed **fall exterior paint estimate in Champlin** will break this down further, but these ranges are a solid starting point for your budget. The key is to understand *why* your home might be at the lower or higher end of these estimates.
## Factors That Affect Price
The final quote you receive is a combination of labor, materials, and complexity. No two houses are the same, which is why the **Champlin MN exterior painters pricing** can vary so much from one street to the next. Here are the biggest factors I see on the job every day:
1. **Preparation Work:** This is, without a doubt, the #1 factor influencing cost. A paint job is only as good as the surface underneath it. A home with peeling, cracking, or bubbling paint requires hours of scraping, sanding, and caulking before a single drop of new paint is applied. We also look for soft spots in wood siding that indicate rot, which must be repaired or replaced. The more prep, the higher the labor cost.
2. **House Size and Height:** This one is straightforward. A larger home requires more paint and more time. A two or three-story home also requires more setup, specialized equipment like lifts, and additional safety measures, all of which add to the labor hours.
3. **Siding Material and Condition:** The type of siding on your home matters. Wood siding, for example, often requires the most intensive prep (sanding, priming, addressing knots). Vinyl or aluminum siding can be painted but requires a specific cleaning and bonding process. Fiber cement is durable but still needs proper cleaning and caulking.
4. **Accessibility:** Can my team easily access all sides of your house? Dense landscaping, fences close to the house, steep slopes, or neighboring properties can make setting up ladders and equipment more time-consuming, which impacts the overall cost.
5. **Architectural Details:** A simple, rectangular house is quicker to paint than one with multiple gables, dormers, intricate trim, shutters, and several paint colors. Each time a painter has to switch colors and “cut in” a clean line, it adds significant time to the project.
6. **The Fall Rush:** Timing plays a huge role. The **cost to paint siding before winter** can sometimes reflect the condensed timeline. In Champlin, our window for ideal exterior painting weather closes fast. We need daytime temperatures to be consistently above 50°F (and ideally, nighttime temps above 35-40°F) for the paint to cure correctly. This urgency can impact scheduling and pricing as everyone rushes to get their projects done before the first hard freeze.
## How to Get the Best Value
Getting the best value doesn’t mean finding the cheapest price. A low bid often means corners are being cut, usually in the crucial prep phase. A cheap paint job that fails after two winters will cost you far more in the long run. Here’s how to be a smart consumer:
- **Focus on the Prep:** When comparing quotes, look closely at the scope of work. Does the contractor detail the prep process? A quality painter will specify power washing, scraping, sanding, caulking, and priming.
- **Invest in Quality Paint:** The cost of premium paint is only a small fraction of the total project cost, but its impact is huge. A higher-quality paint will provide better coverage, superior durability against Minnesota’s harsh weather, and better color retention, extending the life of your paint job by years.
- **Don't Wait Until It's an Emergency:** If you notice peeling paint or failing caulk, get it addressed sooner rather than later. The longer you wait, the more potential damage from moisture intrusion, and the more extensive (and expensive) the prep work will be.
- **Get an Itemized Quote:** Ask for a breakdown of costs for labor, materials, and any specific repairs. This transparency helps you understand exactly what you’re paying for and compare different offers fairly.
## Questions to Ask Your Contractor
To ensure you’re hiring a true professional, you need to ask the right questions. This protects you and ensures you get a result that lasts.
- **Are you fully licensed and insured?** (Ask for proof of liability and worker’s compensation insurance.)
- **What is your specific preparation process for a house like mine?**
- **What brand and line of paint do you recommend, and why?**
- **How will you protect my gardens, windows, deck, and roof?**
- **How many coats of paint are included in the quote?** (The answer should almost always be two for a color change.)
- **What is your plan for handling bad weather days?** (This is critical for a fall project!)
- **Can you provide a list of recent references I can contact?**
Getting clear answers to these questions will tell you a lot about a contractor’s professionalism and commitment to quality.
Ultimately, the **exterior painting cost** is an investment in your home's protection and curb appeal. Understanding the factors involved helps you create a realistic budget and choose a contractor who will deliver lasting value. The fall season in Minnesota is beautiful but brief, and giving your home a fresh coat of armor is one of the best things you can do before winter arrives.
For a personalized and detailed **fall exterior paint estimate in Champlin**, my team and I are here to help. For a free consultation, contact Brownbalys Properties LLC.
Read More
Deck Staining Cost in Champlin MN: Seal Your Deck This Fall Guide
Hello neighbors, Erin Halvorsen here. After spending over a decade in property maintenance around Champlin, I’ve learned that one of the most common questions I get from homeowners each fall is, "How much is this going to cost?" Whether it's a leaky faucet or a full exterior paint job, budget is always top of mind. And when it comes to protecting your outdoor living space, the question of **deck staining cost** is a big one.
My goal here isn't to sell you anything, but to give you the straightforward, practical information I've gathered on the job. I want you to feel confident when you're planning and budgeting to protect your deck from our tough Minnesota winters. Let's break down the real costs so you can make an informed decision for your home.
## Average Costs in Champlin
Let’s get right to it. In the Champlin area, the price for professionally staining a deck can vary quite a bit, but you can generally expect the **Champlin MN deck staining price per sq ft** to fall somewhere between **$3.50 and $7.00**. This range covers labor and materials for a standard project.
So, what does that look like for a total project? Here are some common scenarios:
- **Small Deck (Approx. 200 sq. ft.):** For a simple, ground-level deck that's in decent shape, you might budget between **$700 and $1,400**.
- **Medium Deck (Approx. 400 sq. ft.):** A more average-sized deck, perhaps with a staircase and railings, will likely fall in the **$1,400 to $2,800** range.
- **Large or Multi-Level Deck (600+ sq. ft.):** For larger, more complex structures with multiple levels, extensive railings, or built-in features, costs could range from **$2,100 to $4,200+**.
It's important to remember these are ballpark figures. The final price depends on a handful of key factors, which we'll get into next. The **deck sealing before snow cost** is a true investment; spending a couple of thousand dollars now can save you from having to spend five times that on replacing rotted boards and structural elements down the line.
## Factors That Affect Price
The price per square foot is a good starting point, but the final quote you receive will be based on the specific needs of your deck. Here’s what my team and I look at during an estimate.
**1. The Condition of the Wood**
This is the single biggest variable. A brand-new deck that just needs a light cleaning and a single coat of stain is on the lowest end of the cost spectrum. On the other hand, a deck that's ten years old with layers of peeling, failing stain is a completely different project. It will require significant labor to strip, sand, and neutralize the wood before any new product can be applied. Decks on older homes, like the beautiful pre-1940s Craftsman and Tudor styles you see in historic Minnesota neighborhoods, have often endured decades of weather and may require more intensive prep work to bring them back to life.
**2. The Level of Prep Work Required**
Proper preparation is 90% of a quality, long-lasting stain job. Cutting corners here is what separates a job that lasts two years from one that lasts five.
- **Cleaning:** A simple power wash is standard. However, if there's mold, mildew, or old, failing stain, we may need to use chemical strippers and brighteners, which adds to the cost and labor.
- **Sanding:** After washing, wood fibers can raise, leaving a rough surface. A light sanding is crucial for a smooth finish and proper stain absorption. If the deck is heavily weathered or has old, solid stain, it may need to be sanded down to bare wood, which is a very labor-intensive process.
- **Repairs:** During our inspection, we check for any rotten boards, loose railings, or popped nails/screws. These safety and structural issues must be addressed before staining, which will add to the final cost.
**3. The Type of Stain You Choose**
Stains come in a variety of opacities, and the one you choose affects both the look and the price.
- **Transparent or Toner Stains:** These are the least expensive. They add a hint of color but let the natural wood grain shine through. They offer basic UV and water protection but need to be reapplied more frequently (every 1-2 years).
- **Semi-Transparent Stains:** This is the most popular choice. It provides rich color while still allowing some wood grain to show. It offers better durability and UV protection than a transparent stain, typically lasting 2-4 years.
- **Solid Color Stains:** This product looks more like paint, completely covering the wood grain. It's excellent for older decks with imperfections or for homeowners who want a bold color. It provides the best protection and longevity (4-6 years) but is also the most expensive option, sometimes requiring a primer and more intensive prep.
**4. Size and Complexity**
It’s not just about square footage. A simple, rectangular deck on the ground is far easier and faster to stain than a second-story deck with three sets of stairs, intricate lattice work, and dozens of spindles on the railing. Railings, benches, and pergolas add a significant amount of time due to the detailed, tedious work required.
## How to Get the Best Value
Getting the "best value" doesn't mean finding the cheapest price. It means investing in a quality job that will protect your deck for years to come.
- **Focus on Prep, Not Just Price:** When comparing quotes, ask detailed questions about the preparation process. A low bid that skips sanding or uses a cheap "wash and seal" method will likely fail within a year, forcing you to pay to have it all redone.
- **Stay on Top of Maintenance:** The **best time to stain a deck Minnesota fall** is right now, in September and early October. The weather is typically dry and mild, allowing the wood to dry thoroughly after washing and the stain to cure properly before freezing temperatures arrive. A maintenance coat every few years is far more affordable than a full restoration project every decade.
- **Do What You Can:** You can save a little on labor costs by handling simple tasks yourself. Clear all furniture, grills, and planters off the deck before the crew arrives. Trim back any bushes or tree branches that are touching the deck.
## Questions to Ask Your Contractor
To ensure you're hiring a true professional, here are a few questions I recommend asking any contractor you're considering:
1. What is your exact preparation process? Will you be sanding the deck after washing?
2. What specific product (brand and type) do you recommend for my deck, and why?
3. How many coats of stain will be applied?
4. Are you fully insured with both liability and worker's compensation?
5. What is your timeline for completing the project?
6. Do you offer a warranty on your workmanship?
Choosing a contractor who can answer these questions confidently is a great sign that you're in good hands.
Protecting your deck is one of the smartest home maintenance investments you can make, especially here in Champlin where our weather puts it to the test. Taking the time to have it done right this fall will let you rest easy all winter, knowing it’s sealed and safe from the snow and ice.
For a personalized estimate where we can discuss your specific needs and options, feel free to contact my team at **Brownbalys Properties LLC** for a free consultation. We're happy to help you get your deck ready for the seasons ahead.
Read More
Case Study: Restoring Fascia Paint After Fall Gutter Overflows
As a Property Maintenance & Renovation Lead here at **Brownbalys Properties LLC**, I’ve seen firsthand how quickly a small issue can escalate, especially with Minnesota’s unpredictable seasons. This past September, I got a call from a homeowner in a beautiful, wooded neighborhood of Champlin. They had a classic, large-footprint home built in the early 2000s, complete with the complex, multi-gabled rooflines that were popular during that era. While stunning, those rooflines create long, winding gutter systems that are magnets for fall leaves.
The homeowner’s problem was one we see often in the fall: their crisp white fascia and soffit paint was bubbling, flaking, and peeling in several spots. They were worried about the appearance, of course, but more importantly, they were concerned about what it meant for the integrity of their home as winter approached. They knew they needed a professional solution, and fast.
## The Assessment
When my team and I arrived, it didn’t take long to diagnose the issue. The beautiful mature trees that gave the property its charm were also the primary culprits. Gutters along two major roof sections were completely clogged with a thick mat of damp leaves and debris. During recent rainfalls, water had nowhere to go but over the edge, cascading directly down the face of the fascia boards. This is one of the most common **peeling soffit paint causes in fall**.
During our detailed inspection, we found:
- **Widespread Paint Failure:** The paint was peeling away in long strips, exposing the wood underneath. In other areas, it was bubbled up, indicating moisture was trapped behind the paint film.
- **Water Staining:** The wood itself was darkened and stained, a clear sign of prolonged water saturation. This was particularly bad at the corners and joints where water tends to pool.
- **Early Signs of Wood Damage:** I used my moisture meter and found high readings in several sections of the fascia. While we hadn't reached the point of significant rot, some of the wood was becoming soft. Leaving this unaddressed through a freeze-thaw cycle would have been disastrous, leading to expensive wood replacement instead of a straightforward **fascia paint repair**.
The situation was clear. This wasn't just a cosmetic issue; it was a race against the clock. We needed to get this corrected before the first hard freeze. The homeowner needed a plan for **Champlin MN fascia painting after gutter overflow**, and my team at **Brownbalys Properties LLC** was ready to deliver.
## Our Solution
A quality paint job is 90% preparation, and this project was a perfect example. Simply painting over the damaged areas would have been a temporary fix at best; the new paint would have failed within a year. Our approach at **Brownbalys Properties LLC** is about providing long-term solutions, not quick cover-ups. We laid out a comprehensive, multi-day plan for the homeowner.
**Step 1: Gutter and Debris Cleanup**
Before we could touch the paint, we had to address the root cause. We coordinated a thorough gutter cleaning for the entire house, ensuring all downspouts were clear and water could flow freely away from the home. This crucial first step is often overlooked, but it’s essential for the longevity of our work.
**Step 2: Meticulous Surface Preparation**
With the water source eliminated, our 3-person crew got to work. We began by carefully scraping all the loose and peeling paint from the affected fascia and soffits. We then used power sanders with medium-grit paper to feather the edges of the remaining paint, creating a perfectly smooth surface. This prevents the old paint lines from showing through the new coats. Any bare wood was scuffed to ensure the new primer would have maximum adhesion.
**Step 3: Wood Repair and Priming**
In the few spots where the wood was soft, we used a wood hardener to stabilize the fibers. After it cured, we applied a high-quality exterior wood filler, which we then sanded flush with the surrounding board. Once all repairs were made and the surfaces were clean and dust-free, we applied a coat of a premium, stain-blocking oil-based primer. This is a critical step in **how to repaint fascia boards before winter**; it seals the wood from any residual moisture stains and creates a bulletproof foundation for the topcoat.
**Step 4: Application of the Finish Coat**
For the finish, we used two full coats of Sherwin-Williams Resilience® Exterior Acrylic Latex in a crisp white satin finish. This paint is one of our go-to products at **Brownbalys Properties LLC** for fall projects because it is formulated to resist moisture and can cure in lower temperatures, which is perfect for the fluctuating weather in a Minnesota September. We used a combination of brush and mini-roller techniques to apply the paint, ensuring a smooth, uniform finish without any drips or brush marks.
The entire project, from assessment to final walkthrough, was completed in just three working days. We were able to get the home sealed and protected well before the cold weather set in.
## The Results
The transformation was immediate and striking. The peeling, water-stained fascia was gone, replaced by a flawless, brilliant white trim that sharply defined the home’s complex roofline. The house looked refreshed and meticulously maintained - its curb appeal fully restored.
More importantly, the homeowner had peace of mind. They knew the problem was solved correctly at its source. By investing in a professional **fascia paint repair** from **Brownbalys Properties LLC**, they avoided the much larger expense of replacing entire sections of rotted fascia and soffit boards down the road. They were thrilled with the efficiency of our crew and the quality of the finished product.
This project is a testament to the importance of proactive fall maintenance. What started as an aesthetic annoyance was actually a warning sign of potential water damage. By acting quickly and hiring a team that understands the causes and the correct solutions, the homeowner protected their significant investment and can now head into winter worry-free.
Ready for your own **Brownbalys Properties LLC** experience? Contact us today for a free inspection.
Read More
Get Your Free Estimate
No pressure. No obligation. Just an honest assessment from a team you can trust.